Tag Archives: writing

How can a copyeditor help?

So what does a fiction copyeditor do anyway? In case you’re unsure, let me explain, with some examples of real errors that I’ve caught.


A copyeditor will go through your manuscript very thoroughly, checking for spelling, punctuation and grammar issues (SPaG). She (or he, of course!) will mark up errors for your attention. She will check for ambiguous meaning and suggest rewording if needed.

Errors may include:

  • The wrong word used: bought or brought; steel or steal; free reign or free rein; take a peak or take a peek; bare with me or bear with me; you’re mine or your mine
  • Inconsistent tenses: He picks it up and ran with it; she saw he is busy
  • Subject/verb agreement: Each of them is or each of them are
  • Inconsistent or incorrect punctuation: “Hello,’ he said. Where, are you going Tom”?

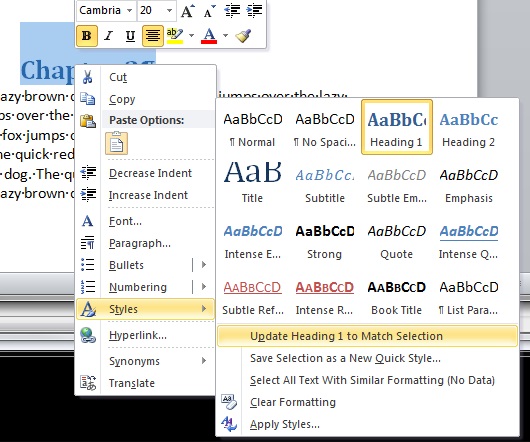
She will check for consistency within the manuscript, and create a stylesheet.

Errors may include:

  • Inconsistent word/digit use: one or 1; one hundred or 100
  • American or English spelling: color or colour, but not both; color and center, or colour and centre
  • References to time: 10am, 10AM, 10A.M., 10 a.m., etc

She will check for consistency within the characters, building a sheet to refer to for details, to avoid:

  • Eyes that change colour from blue to brown
  • An only child who phones her brother for help
  • Inconsistent spelling of a character name

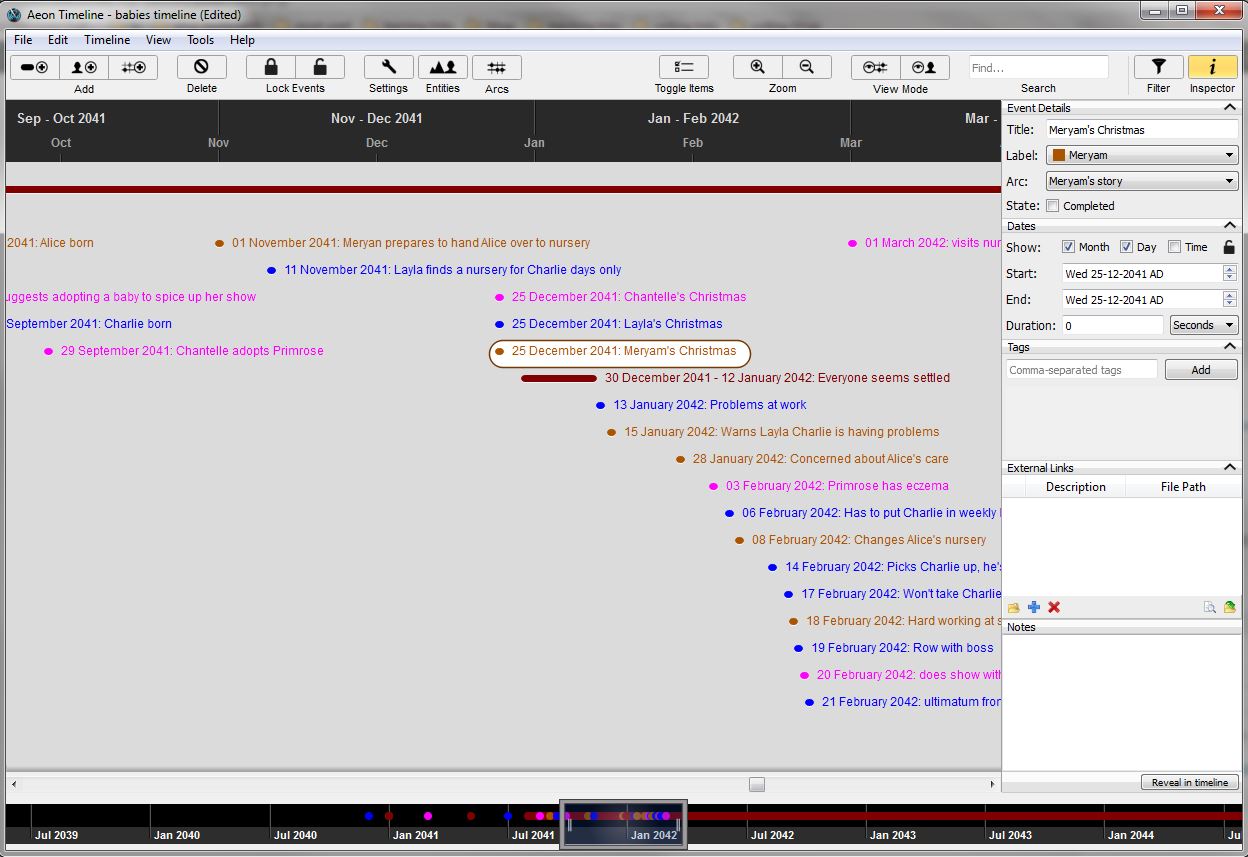
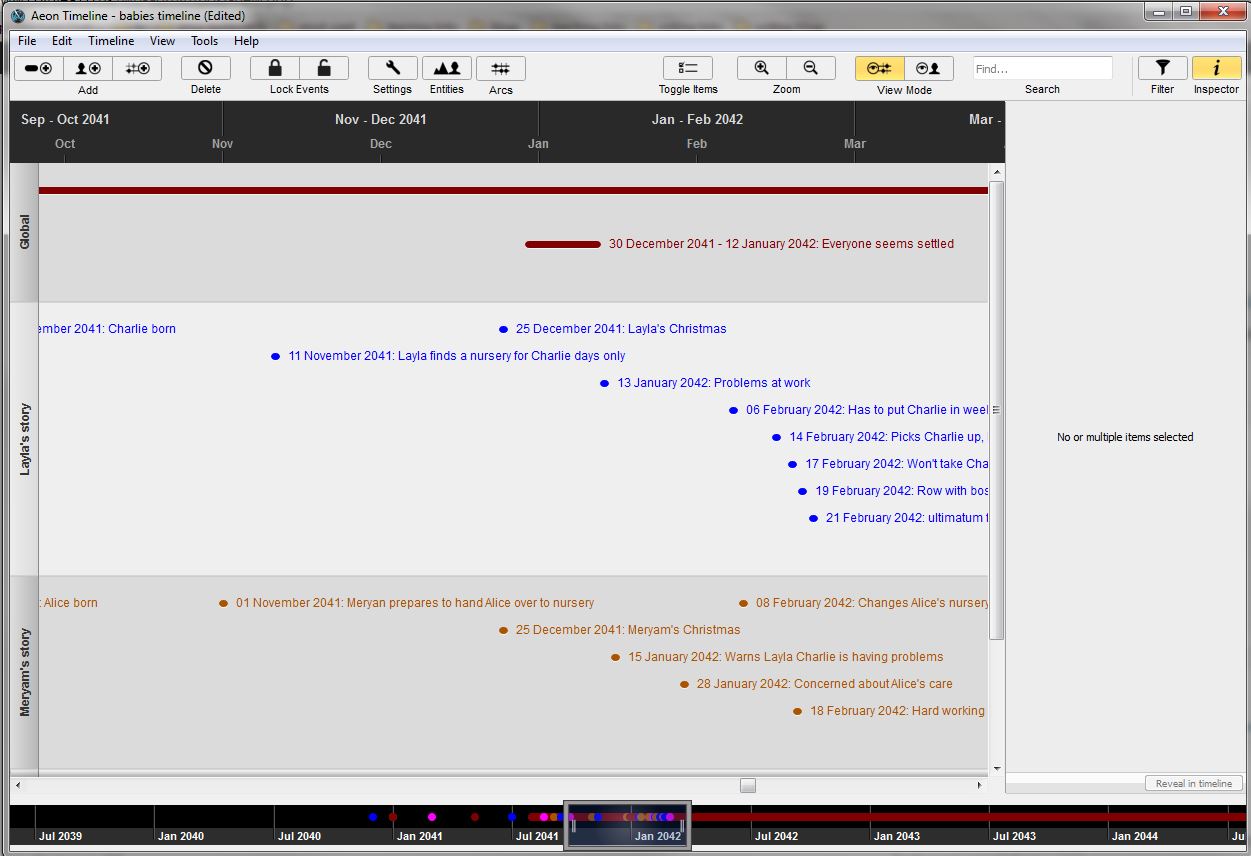
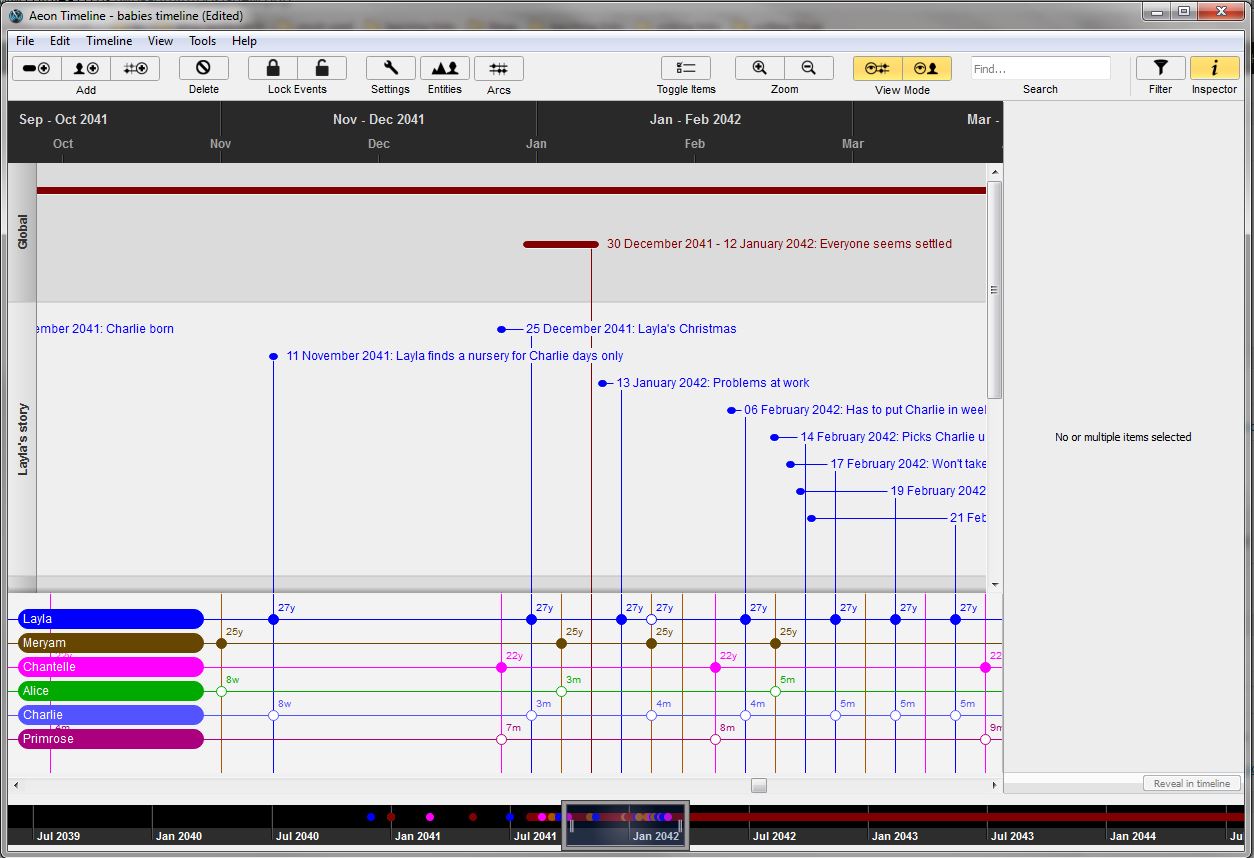
She will check for consistency within the timeline, to avoid:

  • A school week that goes on for six days instead of five
  • A character who reacts to some news she doesn’t yet know the significance of
  • A baby that’s due in one week in one chapter, and in three weeks in the next chapter

She will check for consistency within the geography, to avoid:

  • A journey that takes far longer or shorter than it should
  • A side door in a mid-terraced house
  • Inconsistent spelling of a place name

She will check for factual errors:

  • Carbon-dating metal
  • A shotgun that fires bullets
  • Charles Darwin’s Theory of Relativity


A copyeditor cannot guarantee the accuracy of everything in your manuscript, but she can pick up most of the major errors and a lot of the minor ones, and ensure that the text produced is polished, accurate and easy to read.


She will also point out copyright issues, such as song lyrics, and can advise on other matters related to the publication of your manuscript.


She should not:

  • impose a style rule for the sake of it: you must use a serial comma; never end a sentence with a preposition; you must always use an en-rule/em-rule/hyphen here (although she may advise on common practice)
  • impose her own voice on the work: she should be reinforcing your voice
  • rewrite the story for you


All corrections made by an editor are subject to author’s approval, and all queries should be dealt with by the author. The job of an editor is a highly skilled one, and checking a manuscript carefully is time-consuming. Please bear that in mind when considering your budget!


I want to be a beta reader

I often see comments from people who would like to be a beta reader but are not really sure how to go about it. This is to answer some of the most common questions.

How do I become a beta reader?

Just find yourself a writer who needs a beta reader and volunteer. It might be through your local writing group, or through goodreads, or some other place where you can find writers. Good beta readers are always in demand, and writers are usually looking to build up a regular team.

What do I have to do?

The basic idea is to read the manuscript (often a novel, but it could equally be a memoir, or non-fiction), and then tell the writer what you thought of it. The important thing is to be honest and as specific as you can. They might have a list of questions they want answered – are the characters believable? did the setting sound realistic? – or they might just want your overall impression.

How long does it take to do a beta read?

How long do you usually take to read a book? Some beta readers can provide feedback within a couple of days; others take longer. As long as you and the writer understand how long it is likely to take, there is no problem.

Do I have to be honest?

Yes, but you also need to be kind. The writer has put in a lot of work, and you should always bear this in mind when you give feedback. it’s also good to comment on things that you enjoy or feel works well, so that your feedback is not all negative.

Do I have to be a writer myself?

No. You just have to be a reader. Make sure you read genres you feel capable of commenting on, and remember that the writer is looking for feedback to help make their work better. You don’t have to tell them how to fix any problems you find; you just have to point out anything you see as an issue. Is the pace flagging? Do you find the character unlikeable? Is that event unbelievable? Once you’ve pointed out what you see as a problem, it’s up to the writer to consider your feedback and deal with it if they consider it necessary.

Do I have to be good at grammar/spelling/punctuation?

No. It’s not the beta reader’s job to point out errors like that, although some do anyway. You are the test reader, giving the writer an idea of your response. The writer has spent a long time very close to their manuscript; they need someone to look at it with fresh eyes and check the content for them to see how readable it is.

How do I actually read their work?

It’s possible you might be given a printed copy, especially if you know the person offline. It’s more likely that you’ll be provided with an electronic copy. This might be a Word document, PDF, or a format suitable for an ebook reader. You can usually ask for the version that you would find easiest to work on.

Do I do a written report?

Some beta readers provide comments through the manuscript; some provide feedback via a written report. Some do a combination of both.

Do I have to sign a non-disclosure document?

Some writers might ask you to do that, but most don’t. However, it is expected that you’ll keep their work confidential and not pass it on to others. The same goes for discussing it with other people. On the other hand, once the book is published there’s nothing stopping you promoting it to your friends!

Can I charge for beta reading?

Some people do charge for beta reading. The advantage to you is that you get something back for your time apart from the pleasure and experience of helping out, and the advantage to the writer is that they can be pretty sure you’ll provide feedback. On the other hand, there are plenty of people around who offer a free read. Some writers offer a copy of the finished work as a thank-you, or a mention in the acknowledgements. If you want to make a charge, then I would recommend building up a reputation, collecting testimonials and then testing out the waters, but any beta read fee is unlikely to reflect all the time you spend working on it, unless your fee is very high – and then you’d better be very confident that you’re offering a high level of help and expertise.

What if I really don’t like what I’m reading?

It happens sometimes. A manuscript for beta reading can be very rough and unfinished, and can be tough to get through. Just do your best, and at the very least give the writer some feedback to indicate why you found it so hard, whether it was because the writing style was too rough, the main character too unsympathetic or the pace too slow. The tougher the read, the more important your feedback is. If you can’t finish it, then try to explain the problem.

What if real life intervenes and I just don’t have time?

If you take on a read and then find you can’t complete it, for whatever reason, please do let the writer know. The same applies if you find it will take longer than you thought. Communication is key. Remember that you may be the first to read a piece of work apart from the writer, and it is their precious baby. If they don’t hear back from you, they might assume it’s because you found it terrible and can’t bear to tell them, whereas in reality it’s because you’ve had the flu!


Beta reading, editing, proofreading, reviewing

A novel has to pass through many stages during its lifecycle. In my job I get to do all of them, although not usually more than two on any one project, as otherwise I start to see what should be there rather than what is there. So what’s the difference?

Beta reading

A beta read is for the author’s benefit. It provides feedback on the pace, the characters, the setting – anything that impacts on the structure and style of the story is fair game. When I beta read, I’m aiming to give the author an idea of the strengths and weakness of both story and style, and spot any plot holes or major omissions early in the publication stage, so they’re not too painful to fix.


Sometimes the beta read can be very tough (or, strictly speaking, an alpha read), and that’s when it’s even more important to really get stuck in and figure out what the problem is. As I make a small charge for a beta read, I’m going to make every effort to read the whole manuscript, and give you whatever advice I can.

What doesn’t get looked at

At a beta read stage I will not be worried about sentence structure except to comment on any style issues, or where the meaning is unclear or confusing. Nor will I be picking up on spelling mistakes or punctuation errors, unless to comment on those that are frequent/misleading.

Editing

An edit involves pulling the manuscript apart, to a greater or lesser extent. A structural edit can be very thorough, while a copy edit will be for consistency of plot and style. At this point I’m not only pointing out every error I see, but making suggestions on how to fix them. This is accordingly the most expensive and time-consuming of the types of read.


At the editing stage, depending on the level of editing booked, everything in the novel should be looked at.

Proofreading

A proofread is the final stage before publication. When proofreading, the aim is to pick up any last remaining errors and check for issues with layout. Because of this, the proofread should be carried out on the final file, or as close to that as possible, because every time the file is converted/changed there is the possibility of introducing errors – such as incorrect page numbers in a print document, or blank pages in an ebook file. The purpose of a proofread is to make sure the work is as error-free as possible, so that the reader does not get distracted by any issues with either the language or the layout.

What doesn’t get looked at

Style and structure.

Reviewing

With a review, the focus has changed. A review is not for the author’s benefit (although having public reviews of a book can help sales). A review is for the benefit of readers, to help to know what the book is about and to give them some idea of the strengths and weaknesses of it. When I review a book, I’m looking at how well it entertains and how well the style, structure, characters and setting work towards the end product, or if it’s non-fiction I’m looking at the purpose of the book, how useful it is and what sort of reader it would help best.


I very rarely review anything that I’ve worked on in earlier stages, because I’m too familiar with it, may have had a lot of input into it already and because my time is limited and I would feel the need to reread in order to check I’m reviewing the published version. However, as a member of the Amazon Vine programme I’m often offered books to read and review, and if I read anything for pleasure I will often review that as well.

What stage does your manuscript need?

At various stages in the production cycle, all these stages are needed. Please do not fall into the trap of assuming beta readers will deal with all the other stages. You might be lucky and get a brilliant beta reader, but even so, they are unlikely to have the experience and knowledge that an editor/proofreader brings. As an author, it is your responsibility to your readers to produce the best piece of work you can, and this involves making use of professionals in the process where appropriate.


Self publishing is not producing a book cheaply. It is taking on all the business costs yourself, overseeing the project yourself and collecting more of the income from it.


Preparing your manuscript for print – headers

Assuming that you’ve followed instructions for setting up your manuscript, including using styles and including section breaks before each chapter heading, preparing for a print version is reasonably straightforward.


First of all, you must use Page Set Up to set up your page size and margins appropriately, including instructing the file to Mirror Margins on Multiple pages. This enables you to either set up a wider inside margin or a gutter space (which has the same effect as a wider inside margin). This allows for the inside edge of the pages to be bound together. Use your printer’s guidelines in creating your margins, and don’t fall into the trap of trying to cram as much onto each page as possible.

margins

Under the Layout tab, tick the Different odd and even and Different first page options under Headers and footers.

header footer setup


In many books, the header or footer simply contains a page number, and these can be added easily in Word by choosing Insert/Page Number/Top of Page or Bottom of Page, then selecting which position and option you require.

insert page numbers

You may wish to have more information in your header, however. For example, many non-fiction books will have the book title on one side of the page and the author name on the other, so while the left and right pages are consistent throughout they do not match each other. Some may even have the book title on one side and the chapter title on the other, so while the book title side remains consistent throughout, the chapter title side changes for each chapter. At the very least, unless you have the page number bottom centre, it should appear on the outside of each page, so swapping from the left to the right. The first page of each chapter will normally have no header at all.


You can access the Headers and footers options by double clicking in the header or footer area of any page, or by clicking on Insert/Header and choosing the Edit header option, and similarly for the footer area.

header footer toolbar

Here, again, make sure that Different First Page and Different Odd & Even Pages are ticked. Different First Page enables you to leave the first page of each section (each new chapter) without a header.


A very important button on this toolbar is the Link to Previous. While this is turned on, the header in the current section (either odd or even) will be the same as the corresponding header in the previous section, so any change you make to this one will affect that as well. If they are all linked, then changing one will change all. This is the setting we want for the header that’s to be the same throughout – for example having the book title on the left hand (even) page.


Unlinking the headers, by turning off that Link to Previous button, means that you can set each header for that side manually. Use the Previous and Next buttons to skip through the sections. This means that you can set up the chapter title to appear on every right hand (odd) page.

alignment tabs

Use alignment tabs to centre the header – on the Header and Footer Tools, select Insert Alignment Tab and choose Center. You will need to add a right alignment tab for the page number when you want it on the right. When putting the number on the left, be careful if your Normal style includes a first line indent – you will need to turn this off for the number or it will appear in the indented position, or apply the non-indented version of Normal.


Page numbers should follow on automatically between sections. You can format their appearance by choosing Header and Footer Tools/Page Number/Format Page Number, should you require a section to be numbered differently, or in a different style. For example, a lengthy preface might be numbered with small Roman numerals, with the actual numbering starting with the text itself.


Check all your headers and footers very carefully (or your proofreader will check them for you) to ensure they are all correct.


Getting started in Scrivener

With Nanowrimo almost upon us, many people are trying out Scrivener for the first time, so I’ve put a guide together to help you. Click on any screenshot to see it larger. You can also download a PDF version Getting started in Scrivener if you would rather print the instructions out to have next to you.


First download and install your Scrivener trial – currently the best link is from http://www.literatureandlatte.com/nanowrimo.php – this is a special nanowrimo trial that will last until 7th December.


new projectCreating a new project gives you a few options. I would suggest sticking to Fiction for nano if it’s your first time using Scrivener.


Give your file a name and choose where to save it – I always save mine to Dropbox as I can then access it via PC or laptop.


setting up


When you click Create, this is what you will be faced with. On the left is the Binder, which organises all your documents. Use the triangles to expand and contract your structure. Typing happens in the main area.

Building your structure

create new folderClick on Manuscript in the Binder. Click on the triangle next to the green Add Item button and choose New Folder. There is already one there, called Chapter.


Name your folders as your Chapter titles.


On each folder, click on the green Add Item button (or on the triangle next to it and select New Text)  to create a scene in the chapter, and give each scene a name.


part projectYour organisation can be as complex or simple as you like – here, under Manuscript I have two chapters (folders), each with one scene (text document), but each chapter can contain several scenes. Just add a new one when you need it, via the Add Item button. You can drag and drop folders and files in the Binder to change the organisation.


There is also a folder labelled Research, where you can create and store any documents containing notes rather than actual manuscript. Ignore any other folders for now – just worry about Manuscript and Research.


project targetsClick on Project/Project Targets and set up your manuscript target as 50,000 and your session target at 1667 (or whatever your daily/session target is). See those bars change colour as you get closer to your target. Scrivener will keep track of your overall word count for the project and each session, whether you work on one scene or split your time between several.


Click on the scene you want to write and get started! Jump between scenes by clicking on the scene name in the Binder. Add a new scene/chapter as you need it or set up your complete structure in advance; the choice is yours.


Don’t worry about saving – Scrivener saves as you go along. If you are switching machines and using Dropbox or other cloud storage, just give your machine enough time to sync between closing Scrivener and shutting the computer down, and between turning the next one on and opening the project.

Using the Inspector

turn on inspectorIf you want to make fuller use of Scrivener, I suggest you start with the Inspector.


Click on View/Layout/Inspector to turn on the Inspector pane on the right. This gives you options to record information about each section.


InspectorHere I have added a synopsis of the scene. There is meta data that you can play with, to label the type of document (scene, character notes, idea, notes), and a status you can set. You can use the ones already created, or you can create your own by using the Edit button at the bottom of the list of options.

labels


Click on a chapter folder and then Corkboard button on the top middle of the screen to see the synopsis cards. You can drag them around to change their order.


corkboard

outline viewOr click on Outline View to see a different view of your structure. You might have to resize columns so that you can see all of them in the window. You can use Outline View on your Manuscript and expand each chapter, to get an overview of your complete novel, as well as on individual chapters.


Click back on an individual text file to continue working on that file.


compileIt’s a good idea to compile your project every so often to produce a backup version. Click the Compile button or choose Project/Compile. There are a variety of settings – I usually use these for backups. This produces a straightforward text document that can be read in most word processors.


Most of all, have fun writing!


Using paragraph formatting in MS Word 2010

So you’ve applied your styles, using Heading 1 for your chapter headings and Normal for the main text. You can format the headings easily and then update the style to make the same change throughout the document. The last thing to do is to format your body text appropriately.


Standard layout for an ebook or printed book is to indicate new paragraphs by indenting the first line. You should also avoid adding extra blank lines anywhere by using the return key. For both of these you need to access paragraph formatting.


Paragraph formatting dialog box


paragraph formattingWithin the paragraph formatting dialog box there are several areas of interest. You can format the alignment here – left, right, centered or justified.


You can add indents to left or right – if you want to set in a paragraph from the margins – or set a special first line indent.


You can also add space before or after the paragraph. This is the best feature to use if you want your headings to appear lower down the page, or have a gap between the heading and the text.


You can set your linespacing at various depths, including single and fixed spacing.


line and page breaksOn the other tab for the paragraph dialog box is Line and Page breaks.


The most interesting of these is Widow/Orphan control – when ticked, this will stop the first line or last line of the paragraph appearing on a different page from the rest. You might decide you prefer this option turned on, or you might turn it off if you want exactly the same number of lines of text on each page. If you do turn it off, I suggest you look at the layout of your print design carefully to check for widows and orphans, as it’s possible the automatic system could give you a single word on its own at the end of a chapter.


Keep with next will ensure there is no page break between a paragraph of this style and the next paragraph – useful for ensuring headings don’t appear on their own at the bottom of the page.


Keep lines together will ensure the paragraph is not split between pages.


Page break before will automatically start a new page with this paragraph – again, useful for headings.


Accessing the Paragraph format box


paragraph section of home ribbon

  • Click on the right-hand bottom corner of the paragraph section of the Home ribbon.


  • Right-click the text and select Paragraph…


If you access it either of these two ways, once you have the paragraph the way you want it to look don’t forget to right-click the paragraph and select Styles/Modify Normal to match selection.


modify styleAlternatively, you can right-click on the style in the style panel, choose Modify… and click on the Format button in the bottom left-hand corner. Choose Paragraph from the list of options. This method modifies the style directly, so you should see the change applied throughout when you press OK.


The first paragraph in the chapter or underneath a divider should not be indented, so it’s best to set up another style to cover this. Add in a centered style for your dividers (and maybe any images you wish to include) and you’re ready to go!


Using Styles in Open Office Writer

Advantages of styles

Using styles is a handy way to help you ensure your formatting is consistent throughout your document. Styles can also help you to navigate through your file and see the structure easily, and if you intend to convert your Word file to ebook format, styles will enable you to generate an automatic table of contents.


I have covered styles in more detail in the Word version of this article, so here I will only give you where to find the various features in Open Office Writer:

Applying styles

formatting toolbarYou will access the styles option in Open Office Writer by selecting Format/Styles and Formatting, or by clicking the Styles and Formatting button on the toolbar (on the left). Apply the style by highlighting text in your document and double-clicking the style you want.


Use a page break to force a new chapter onto a new page – under Insert/Manual break… page break, or by typing CTRL+Enter.


Modifying styles

update styleTo modify a style, change one of the sections of text that uses it. Then, with that section highlighted, on the formatting window use the dropdown button to choose Update Style.

Using styles to navigate

navigatorUse the Navigator pane, under View/Navigator, to move around the document and see the structure. Expand the heading section if necessary by clicking on the plus sign to its left.

Table of contents

table of contentsUse Insert/Indexes and Tables/Indexes and Tables to insert a table of contents.


Using Styles in MS Word 2010

Advantages of styles

Using styles is a handy way to help you ensure your formatting is consistent throughout your document. Styles can also help you to navigate through your file and see the structure easily, and if you intend to convert your Word file to ebook format, styles will enable you to generate an automatic table of contents.


Applying styles

The styles options appear on the Home ribbon. You will see several different styles listed, including Normal, Heading 1 and Heading 2. You may also have a Title style.


style bar

Each of these styles may be applied to your document by highlighting the text and then choosing the style you want.


It is important that you use the right style for the right section; it is less important what the style currently looks like, as it is easily modified.


Most of your document will be created in the Normal style, and you should use Heading 1 for chapter headings. Highlight the chapter name and then click on the style named Heading 1. If you have subheadings, you can use Heading 2, etc.


section breakAt the end of the chapter, in order to make the next chapter start on a new page, use a Section Break (Next Page) or Section Break (Odd Page). Both are found on the Page Layout ribbon, under Breaks. Using Odd Page will ensure that the next section starts on the right-hand page of your book. All odd pages should be on the right-hand page – please note that the Word two-page preview does not always display this properly.


pilcrowUsing the Show/Hide button (on the Home ribbon) to see the invisible characters will help you with your formatting. This button lets you see the characters that are normally invisible, but that control the layout of your document.

formatting example

Here you can see:

  • the section break used rather than leaving blank lines manually
  • the chapter heading formatted using Heading 1
  • the pilcrow mark used to show paragraph marks
  • dots instead of spaces.

Modifying styles

modify style

If you want to change the appearance of either of the styles used, choose one heading or one paragraph to change. When you have that one exactly as you want it, then highlight it, right-click and choose Styles/Update Heading 1 to Match Selection or Styles/Update Normal to Match Selection. This will automatically make your changes to every section of text where that style is applied.


More about modifying styles in my next post, on using paragraph formatting.

Using styles to navigate

navigation pane

If you turn on the Navigation Pane (found under the View ribbon) you will see a list of the headings you have used. Clicking on these is a quick way to jump around your document, and if you have subheadings, for example in a non-fiction book, you can see the structure very clearly.


table of contentsMoving to the top of your document and choosing Table of Contents on the Reference ribbon will give options for an automatic table of contents, with or without page numbers. These will be hyperlinked to each heading, so that Ctrl+clicking on a heading will take you to that point in the document, and this will translate to the ebook file as well. If you generate the Table of Contents before your text is finished, then you can right-click the generated table later and choose Update Field, choosing the option Update entire table, to ensure that the table is up to date. Alternatively, make the Table of Contents the last job you do when finished.


Typing your manuscript

Here are a few tips to remember when typing up your manuscript:


  1. Use single spaces only, even at the end of a sentence. If you are an old-school typist, as I am, you were probably taught to use two spaces after a full-stop, but this is inadvisable on a computer. Some eBook converters will complain if they find two spaces together, and there is always the risk that one space will be put on the next line, forcing that line out of alignment with the rest.
  2. Avoid using blank lines in your document. It is best to put a visual marker instead. If you really want blank lines in a finished printed manuscript, you can adjust them once the page sizes are known, but in eBooks you can never guarantee where the page breaks will fall, and it is very easy to miss a blank line at the top or bottom of a page. For this reason, ebook converters will complain if you upload a document with blank lines.
  3. Indent the first line of each paragraph using the automatic settings in your word processing software. The usual style these days is to have no blank lines between paragraphs in fiction, and so the way to signal a new paragraph visually is to indent the first line a little. However, using the tab key or space bar to do this is a bad idea, as it makes it fiddly to adjust at a later date.
  4. Use section breaks or page breaks at the end of the chapter, to push the next chapter to the top of a new page. Section breaks also give you the option to choose whether you want next page or odd page starts, and allow you to change the header and footer between sections.
  5. Make use of the style system. Marking your headings using styles is not only a handy short-cut to keeping your formatting consistent, but it is the key to generating a Table of Contents for the front of the book, and if your book is non-fiction, then the navigation pane will help you check that your content is organised appropriately. 
  6. Avoid using the space bar to align content on the page. Instead, use the left-align, right-align and centre buttons. For anything more complicated, you can always set and use the tabs, or use a table and hide the borders.

If you follow these simple rules when typing up your manuscript, the final formatting should be smooth and easy.

More information on using the style system and section breaks.


Writing tools 2 – Aeon Timeline

Further to my post on Scrivener, a tool growing in popularity with many writers, another tool that’s well worth a look at is Aeon Timeline.


Whether your novel spans decades or takes place over a few days, the chances are that you have a sequence of events to organise – how long does that journey take? what day of week did they meet up? was there really enough time between those events for that to take place? It can be a real headache trying to keep track of what happens when and where, and if you are trying to balance different story arcs the headaches are multiplied.


Aeon simple view

Aeon simple view with Inspector open

Aeon Timeline is very simple to use, while providing many tools that are useful for organising your planning.  The timeline across the top shows the date, the events are listed in order on the timeline and at the bottom a bar shows how the current view relates to the overall timeline. Colour coding can be used for different events, and they can be events for a single moment in time or longer events, recorded to within the degree of accuracy you need, whether this is to within the year, the month or even the second.


Clicking on any event on the timeline gives access to the details of that event – here you can record which story arc it belongs to, the time and duration of the event and any other details you need. You can also provide a link to an external file – in fact the mac versions of Scrivener and Aeon Timeline will link with each other, so you can generate a scrivener file from your timeline and keep the two synced. The windows update for this feature is currently in development, and will be made available as a free update when released.


Aeon timeline arc view

Aeon timeline arc view

Having linked each event to a story arc, it’s very simple to switch to arc view. Here each arc is separated out to aid planning. You can zoom into and out of the timeline easily to obtain an overview or to see details, either by using the zoom buttons or the CTRL key and scroll wheel, and scroll backwards and forwards along the timeline by dragging the handle at the bottom.


Aeon entity/arc view

Aeon entity/arc view

Another useful feature is entity view. This enables you to create entities – people or places for example – and link them with the events on the timeline. You can also create birth and death events for people, and once you have created a birth event, each event that you link with an entity will keep you informed as to their age – a very useful feature that also helps you avoid linking them to events outside their lifespan.


Each entity may be linked as an observer or a participant, enabling you to keep track of whose point of view the section is to be written in. Again, colour coding plays a large part in planning out your timeline.


It’s very easy to combine simple view, arc view and entity view in any combination, to see different parts of your project in detail and check the timeline is feasible. The reminder of day of the week and time of year is also useful – having given a season for one event, you can clearly see what point in the year other events happen.


To create a new event, you either click on the button to create your arc, entity or event, or double click in the right place on the timeline. Either way brings up a dialogue box for you to enter and adjust details. Events may be dragged along the timeline either singly or in groups. A simple filter system enables you to see all the events affecting a specific entity, or with a specific tag, arc or label.


Timeline creation options

Timeline creation options

Options for creating a timeline include floating timeline, zero hour and geological. This should cover any project you could possibly conceive of!


I’ve been using Aeon Timeline for a while now, and find it very straightforward and useful. When they produce a Windows version that will sync with Scrivener, there’ll be no stopping me, but in the meantime the two programs even run separately provide me with every assistance I can think of.


Aeon Timeline is available as a free trial. It is, of course, useful for more than just fiction writing, and videos, forums and support are all available from the website. There are other features available, such as import/export and printing, but I feel I have covered the main features that, to me, make this an essential part of my writing toolkit.