
With nanowrimo coming up fast, it’s useful to know how to use the targets option in Scrivener. Please note: these instructions are for the PC version, but the process should be similar in Mac version.
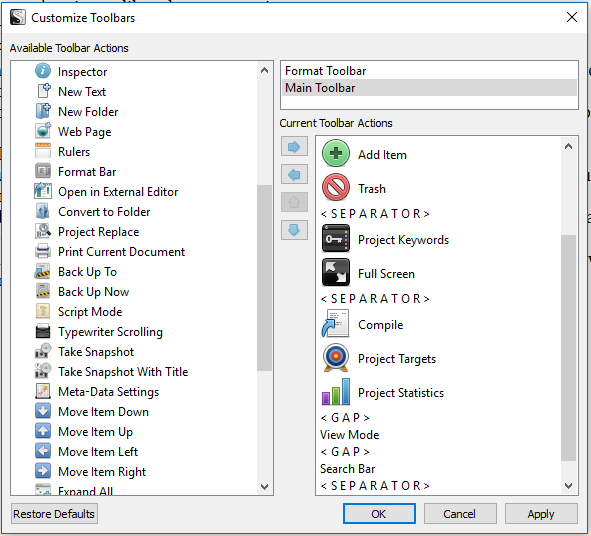 To add the project targets option to your toolbar, click on Tools>Customise toolbar.
Choose the Main Toolbar as the destination, find the project targets button in the list on the left, and then click the right arrow to move it into the list. You can move it up or down to get it exactly where you want it.
If you don’t want the button on your toolbar, then it can be accessed at any time Under Project>Project targets.
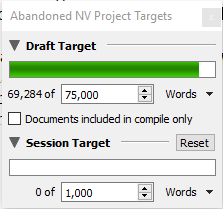 The project target window looks like this – set up your draft target for the total number of words you’re aiming for overall. Tick the box for documents included in compile only if you don’t want to include any project notes you add.
The session target will count the number of words you add in any session – the session ends when you shut the file down. So if you jump from scene to scene, this will keep tally for you.
 There’s also a document target. Click on the little circle on the bottom right of the window, and you’ll get the option to set a target for that specific scene, or document.
Once you’ve set up your targets, you’re ready to go!