Monthly Archives: June 2019

Creating a table of contents

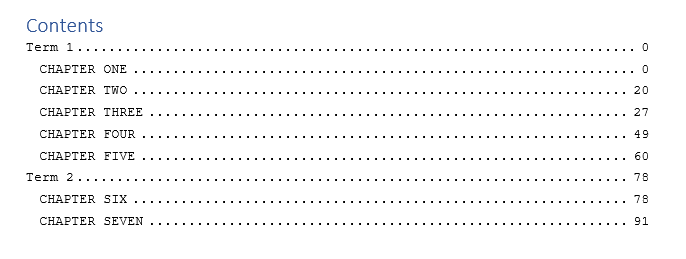
A table of contents is a quick way to navigate around your document. In an ebook, it can provide links to chapter headings. In a print book, it will list page numbers for quick reference.

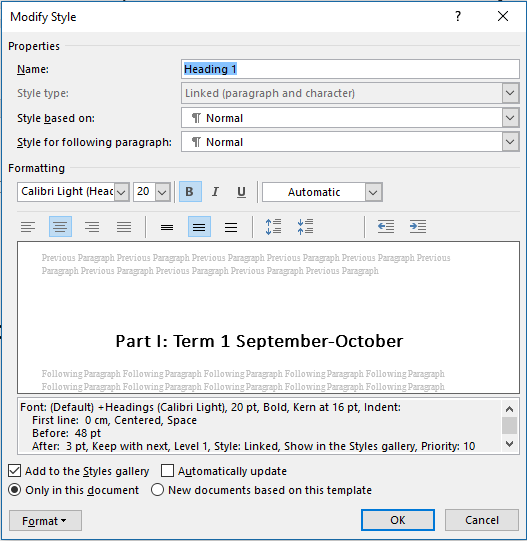
Styles are the key to your table of contents – if you consistently style chapter headings with the style Heading 1, then any ebook generator should take those styles and create your linked table of contents automatically.

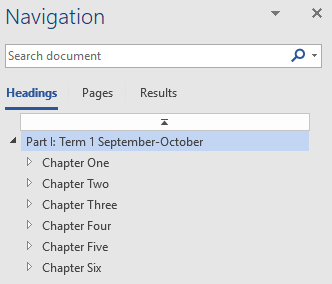
The bonus is that you can use these styles to help you navigate around your Word document as well, using the Navigation Pane.

As always, there are two elements to working with Styles – apply your style to the text, and modify your style to have the appearance you want.

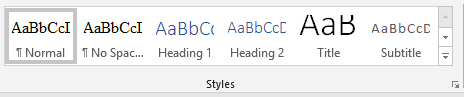
To apply the style, highlight the chapter heading and on the Home tab, click on the style labelled Heading 1.

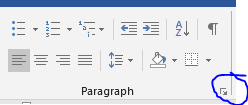
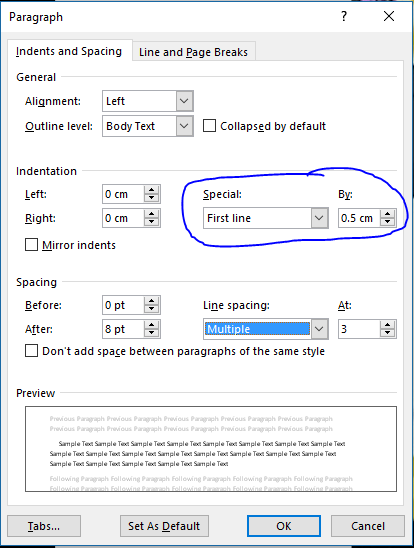
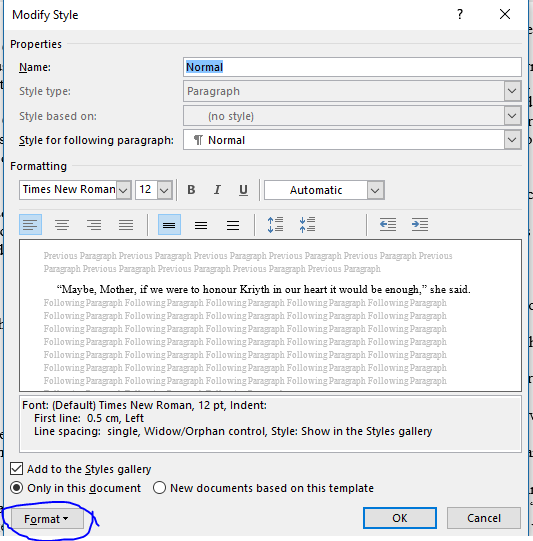
To modify the appearance of that style, right-click on the style in the listing and choose Modify…

Use the Format button on the bottom left to access the main formatting dialog boxes.

Changing the appearance of any style in this way will automatically change the appearance of any text that has been marked as that style.

Alternatively, if you’ve already got your heading just as you want it to appear, highlight it, and then right-click on the style in the Styles panel. Choose Update Style Heading 1 to match Selection.

This will both mark the text with that style and set that style to the same appearance as the highlighted text (updating anything else marked with that style to the same appearance).

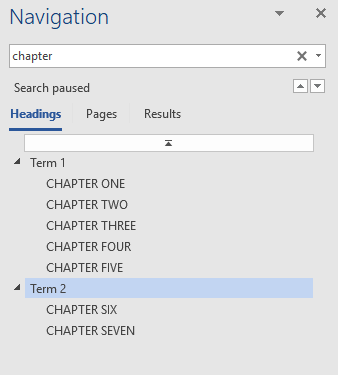
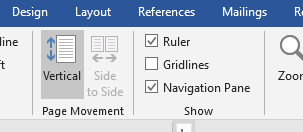
View the Navigation Pane by ticking the box on the View tab.

This provides a quick way to see and move around the structure of your document. If you’ve used more than one level of Heading (Heading 1, Heading 2, Heading 3 etc), then you can see the hierarchy of your layout.

To include a Table of Contents in your printed document, place your cursor where you want it to appear and then on the References tab click on Table of Contents. You can use an automatically generated Table of Contents, or customise it to create your own (for example, you can choose how many levels of heading you want to show – do you want just chapter headings, or do you want subheadings listed as well?).

Using Track Changes in Word

When working with an editor, it’s very likely you’ll need to be able to use the Track Changes feature in Word. This feature allows you to see what changes the editor suggests/recommends, and to accept or reject them individually or in bulk.

Text where changes are tracked can look messy. Any changes are marked (usually but not always in red), with either underlining for added text or strikethrough for deleted text. If two people have worked on a document, the changes will be colour-coded for each person.

There may be other changes that aren’t immediately visible apart from the presence of the line on the left, such as paragraph endings added or removed. To see these, try turning on the invisible marks.

The easiest way to see the clean, edited version of the text is to select No Markup on the Track Changes toolbar, where in this example it says All Markup. This will display the text as though all changes have been accepted.

Use Previous and Next to step through the changes without taking action.

Accept and Reject will take action on the change under the cursor and move the cursor to the next action. If you’d rather see the effect of the action before moving on, then use the dropdown arrow underneath to take action but not move on.

Another action from the dropdown is Accept all Changes and Stop Tracking. Use this if you’re happy with all the changes suggested and want to accept them en bloc.

Be careful – Find and Replace won’t work properly if a word has changes tracked within it. For this reason, editors will often replace an entire word rather than changing one letter within it.

The page layout can also be affected by changes being tracked – for example, natural page breaks will move around.

If in doubt, save a new copy of your document before using the Accept All option. You can then compare versions if you need to.

Some editors may lock the document so you can’t make accept/reject or turn off tracking, especially if they need to do further passes. It’s important that they are aware of any changes made, so they can double-check they’ve been made properly. It’s very easy for spaces to creep in or disappear between words, for example! If you make changes to the edited document without tracking them, your editor might need to check the whole document again, incurring extra time and expense.

Once all changes have been accepted or rejected, it’s a good idea to have a proofreader cast a final eye over your text. This is best done once the text is typeset, as they can then check for layout issues as well.

What are styles?

Styles provide an efficient way to manage the appearance of any document. For anything other than a very simple title/content document, there’s usually a structure: headings, subheadings, body text. If you apply styles throughout your document, it’s a much simpler process to change the appearance of any one of those elements without affecting the rest.

Styles have two stages:

The first task is to decide what role a piece of text plays in your document. Is it a top-level heading? Subheading? Body text? Quote? Caption? Apply a style to match that role. There are several built in to Word that you can use or modify, or you can create your own.

The second task is to decide how that type of text should look. To do this, you modify your style, either by right-clicking on the style in the style list and selecting Modify, or by modifying your text and then right-clicking on the style in the style list and choosing Update Style to Match Selection.

In Word, you can create paragraph styles, which affect the whole paragraph, character styles, which affect only the characters the style is applied to, or a combination of both.

For example, Emphasis is a character style that applies italics to the selected text. Using Emphasis style rather than the Italics button means that if you later decide to change the font in the whole document you don’t risk losing your italics.

Setting a document up with all formatting done through styles rather than direct formatting is just a tiny bit more work than formatting directly, but with any substantial document it’s then so much easier to amend if needed.

Another advantage is that you can use the styles to check your structure and to move around your document easily, by using the Navigation Pane.

The styles may also be used to generate an automatic Table of Contents.

Indenting paragraphs

If you look inside any printed book, you’ll see paragraphs are indented. But how and why is this done?

The why is easy. There are two ways to visually signal the start of a new paragraph. One is to leave white space between paragraphs – a blank line or half a line is the norm. But this spreads the text out more on the page. A more compact way is to indent the beginning of the paragraph a little, which gives the same signal but takes up less space.

As to the how, there are a few ways to achieve it, some good and some not so good.

The worst way is to use spaces, because spaces can vary in width visually, and because you would need to be very careful to always add the same number of spaces to give a consistent look.

Then there’s tabs. Another way that works, but isn’t very efficient. What if you change your mind? You would need to remove – or add – tabs throughout.

A better way is to use the paragraph formatting. In Word, click the little marker at the corner of the paragraph formatting section on the Home tab.

This opens the paragraph formatting box.

Why set to 0.5cm? Anything bigger risks gaps in the text.

See how one line finishes short and looks like it’s floating out of place? Smaller indents are your key.

The best way to apply indents is to use the paragraph setting in the Styles. Apply your style to the text, and then right-click the style name and choose Modify.

Use the Format button at the bottom, select Paragraph… and then make the adjustment as above. This will then be applied to all text set to use that style.

Should you later want to adjust your indents, then all you need to do is modify the style again.

So much easier than trying to delete extra spaces or tabs!