
The PDF version of these instructions is here: Compiling your work from Scrivener.
Once you have finished writing your novel (congratulations!) you need to be able to export it from Scrivener for use elsewhere. While it is possible to compile straight to ebook format from Scrivener, I would recommend compiling to an intermediate format such as RTF (which is Word compatible), where you can play with formatting and check for last-minute errors before the final compile.
There are three basic ways you might have organised your files within Scrivener:
You might have just one folder with all your files in.
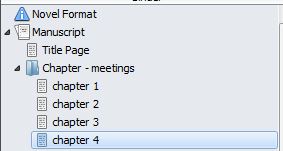
You might have folders for each chapter, each containing at least one scene.
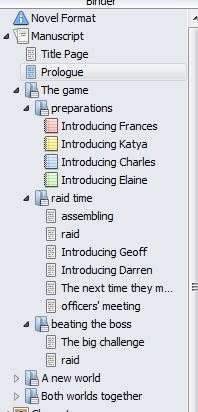
 You might have a more complicated structure, such as a prologue and parts, each part containing chapters, each chapter containing scenes, plus an epilogue at the end.
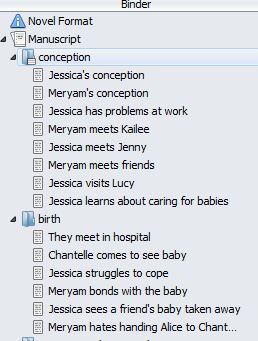
You can see I’ve also been playing around with the icons for the scenes!
The basic structure for compiling is the same, whatever your structure.
 Click the Compile button on the toolbar, or select File/Compile.
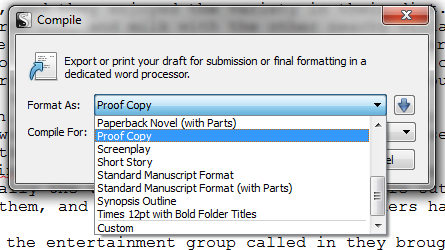
The short version of the dialog box gives you options to choose – for the complicated structure, you need to choose a format that says (with parts). Otherwise choose whichever option you want: ebook, paperback or standard manuscript, for example.
Clicking on the blue down arrow on the right shows the full functionality of the box.
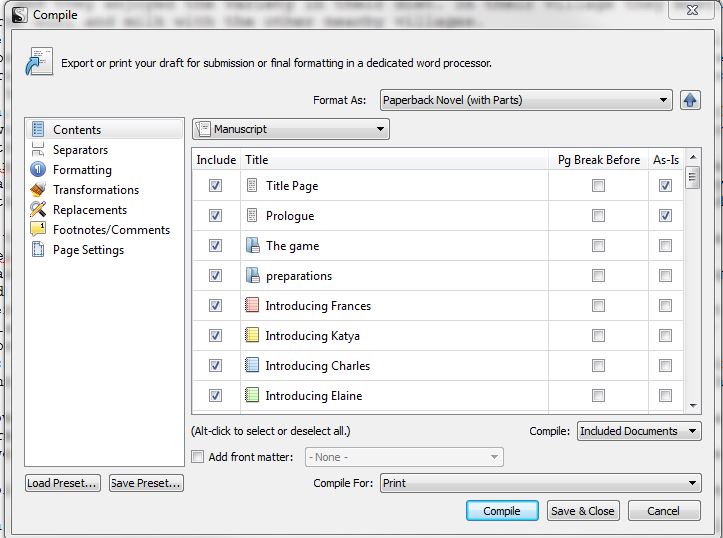
Under Contents you need to check that all the files you need to include are ticked. Any that don’t fall into the main structure, such as a prologue or epilogue, need the As-Is box ticked.
Scrivener will number any folders as chapters and if you have the part/chapter structure (here you can see a part called The Game containing a chapter called Preparations) then Scrivener will number them accordingly as long as you have chosen a structure with parts, so don’t include chapter/part numbers within the folder names.
There are several tabs of options for Compile, so I suggest you play around with them and see what the end result is. One you particularly need to look at is Transformations.
Click on Transformations on the left to see transformation options.
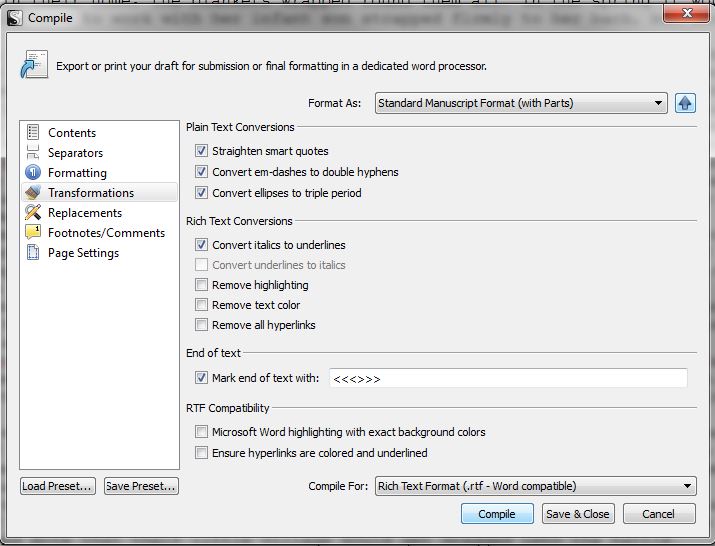
Here you see the Transformations options for a Standard Manuscript, which includes straightening smart quotes and converting italics to underlines. You might want these options turned off, depending on what you intend to do with the file.
When you are finished with the options, check the file type you are compiling for and then click on Compile, and you will be prompted to save the file somewhere and give it a name. I would recommend saving as RTF (rich text format), which can be viewed in most word processors.
Be careful!
You now have the Scrivener version of your novel and a compiled version. While some compiled versions, such as ebooks, will not allow you to edit them anyway, there is a big danger with other versions that you make changes to this file and not to the master version in Scrivener. Once you start working on the compiled version, it can be fiddly to get the work back into Scrivener, so be aware of issues if you send a file to a beta reader, editor or proofreader. Make sure that you are prepared to transfer changes back to the Scrivener version, or continue your work on the compiled version only. This is why I recommend using Scrivener to write and edit your novel, then switching to a word processor for the final tidy up, format and proofread before exporting to PDF for print versions or MOBI/EPUB for ebook versions.