Further to my post on Scrivener, a tool growing in popularity with many writers, another tool that’s well worth a look at is Aeon Timeline.
Whether your novel spans decades or takes place over a few days, the chances are that you have a sequence of events to organise – how long does that journey take? what day of week did they meet up? was there really enough time between those events for that to take place? It can be a real headache trying to keep track of what happens when and where, and if you are trying to balance different story arcs the headaches are multiplied.
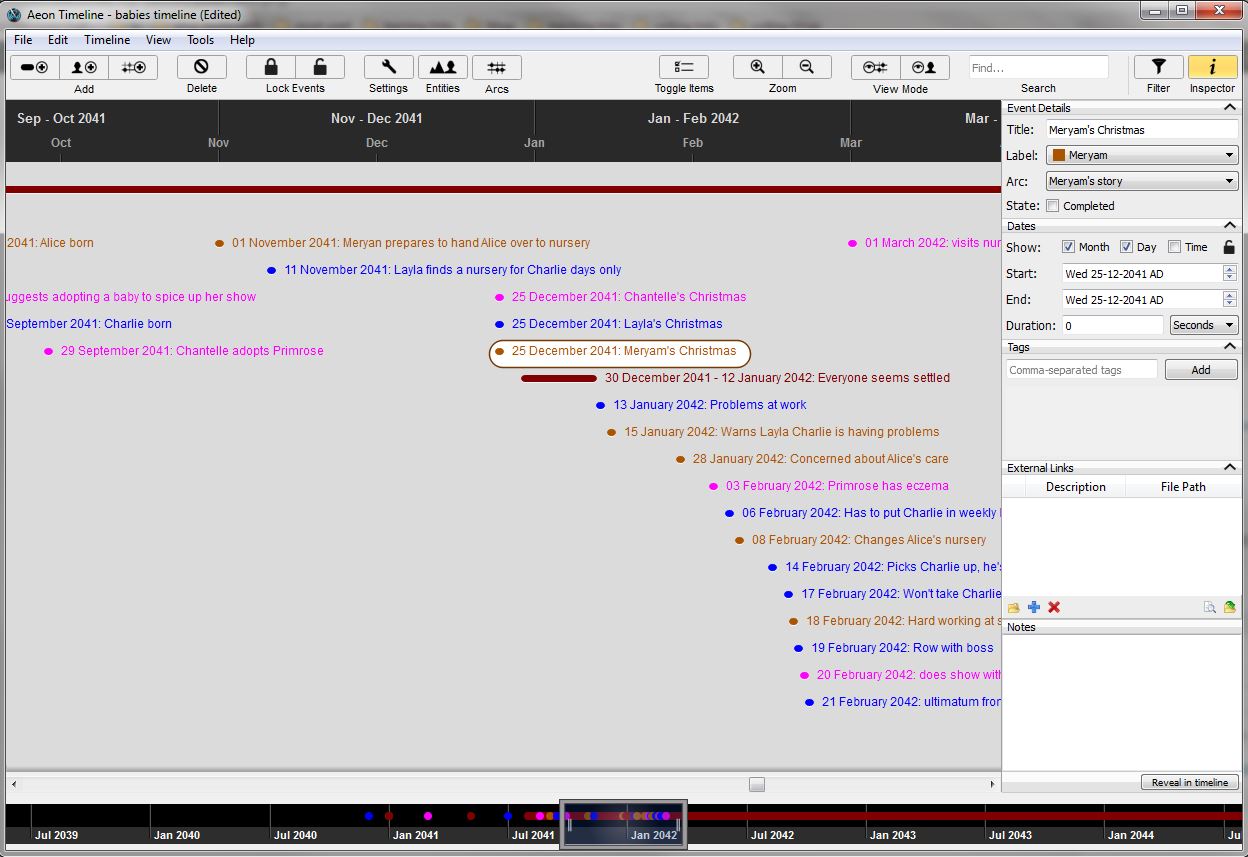
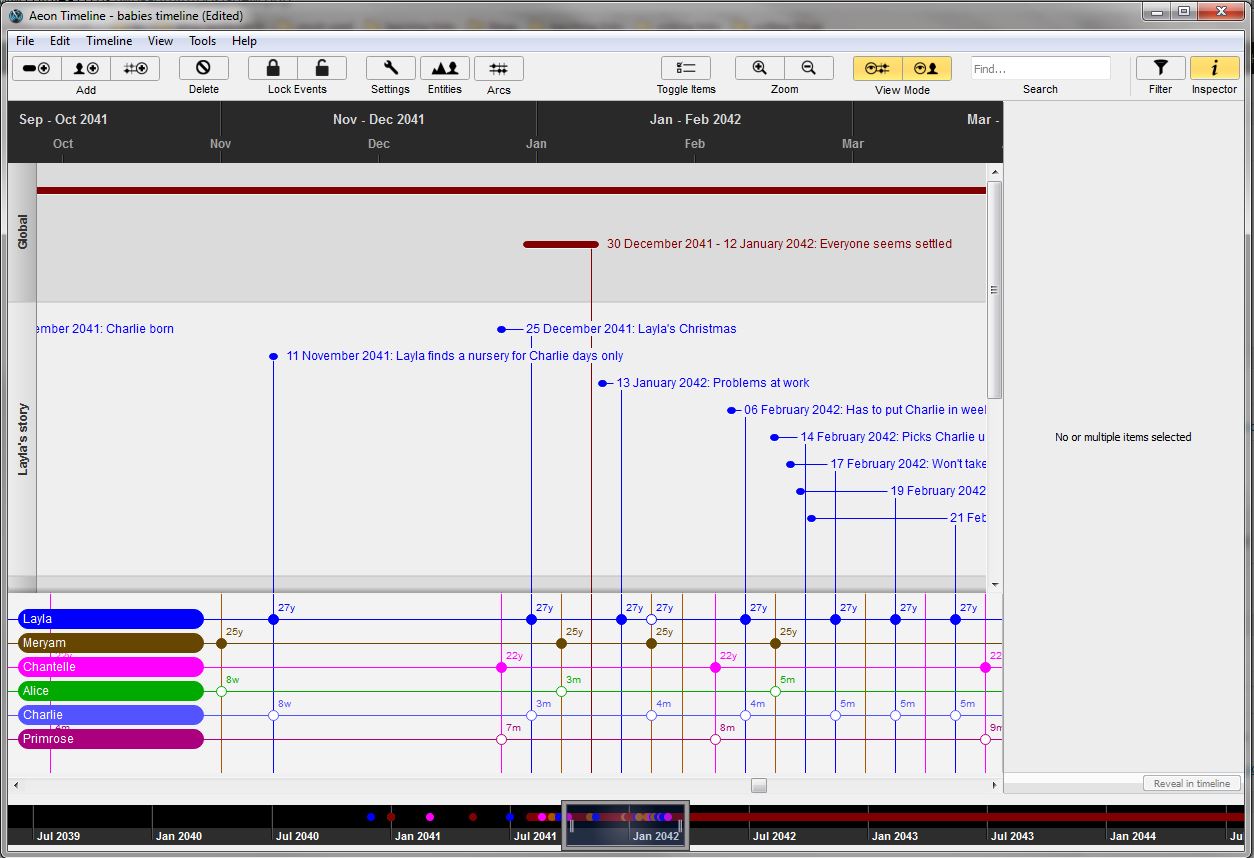
Aeon simple view with Inspector open
Aeon Timeline is very simple to use, while providing many tools that are useful for organising your planning. The timeline across the top shows the date, the events are listed in order on the timeline and at the bottom a bar shows how the current view relates to the overall timeline. Colour coding can be used for different events, and they can be events for a single moment in time or longer events, recorded to within the degree of accuracy you need, whether this is to within the year, the month or even the second.
Clicking on any event on the timeline gives access to the details of that event – here you can record which story arc it belongs to, the time and duration of the event and any other details you need. You can also provide a link to an external file – in fact the mac versions of Scrivener and Aeon Timeline will link with each other, so you can generate a scrivener file from your timeline and keep the two synced. The windows update for this feature is currently in development, and will be made available as a free update when released.
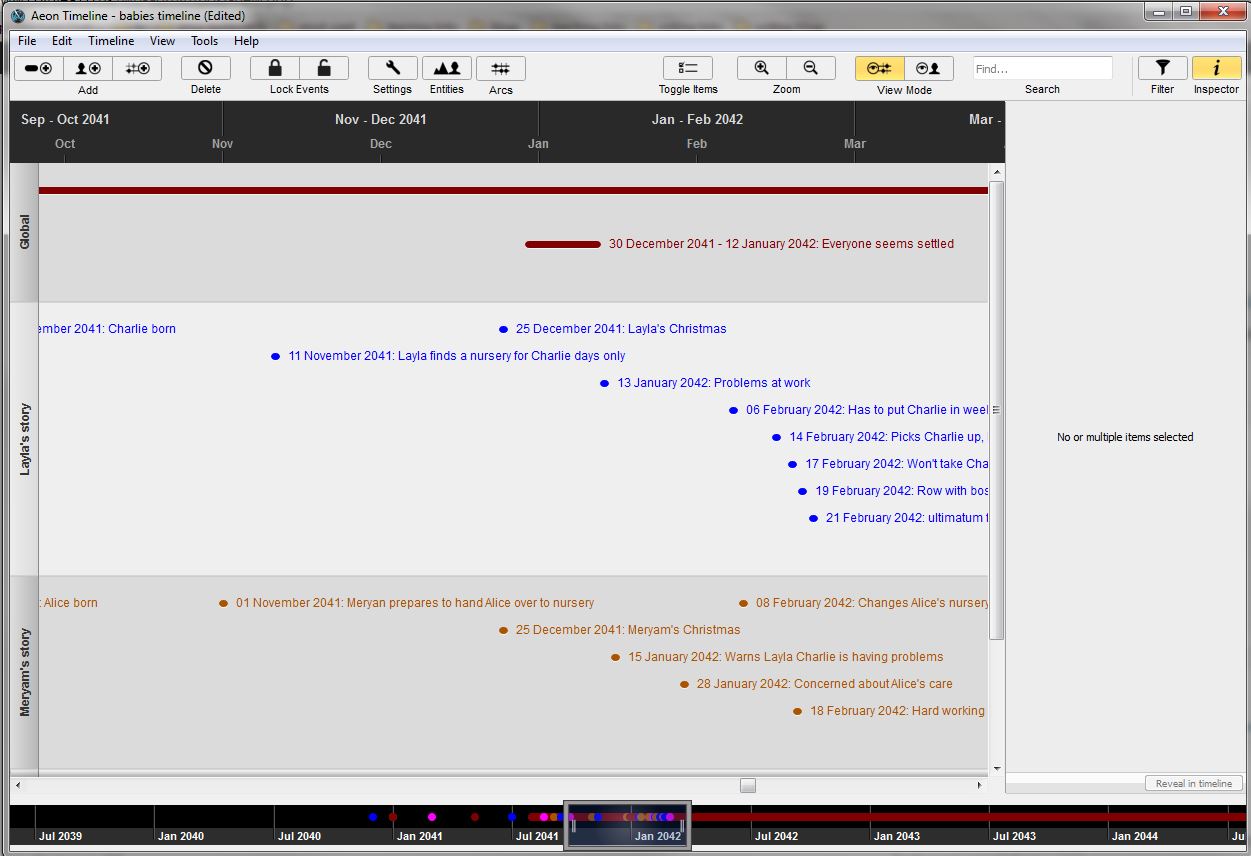
Aeon timeline arc view
Having linked each event to a story arc, it’s very simple to switch to arc view. Here each arc is separated out to aid planning. You can zoom into and out of the timeline easily to obtain an overview or to see details, either by using the zoom buttons or the CTRL key and scroll wheel, and scroll backwards and forwards along the timeline by dragging the handle at the bottom.
Aeon entity/arc view
Another useful feature is entity view. This enables you to create entities – people or places for example – and link them with the events on the timeline. You can also create birth and death events for people, and once you have created a birth event, each event that you link with an entity will keep you informed as to their age – a very useful feature that also helps you avoid linking them to events outside their lifespan.
Each entity may be linked as an observer or a participant, enabling you to keep track of whose point of view the section is to be written in. Again, colour coding plays a large part in planning out your timeline.
It’s very easy to combine simple view, arc view and entity view in any combination, to see different parts of your project in detail and check the timeline is feasible. The reminder of day of the week and time of year is also useful – having given a season for one event, you can clearly see what point in the year other events happen.
To create a new event, you either click on the button to create your arc, entity or event, or double click in the right place on the timeline. Either way brings up a dialogue box for you to enter and adjust details. Events may be dragged along the timeline either singly or in groups. A simple filter system enables you to see all the events affecting a specific entity, or with a specific tag, arc or label.
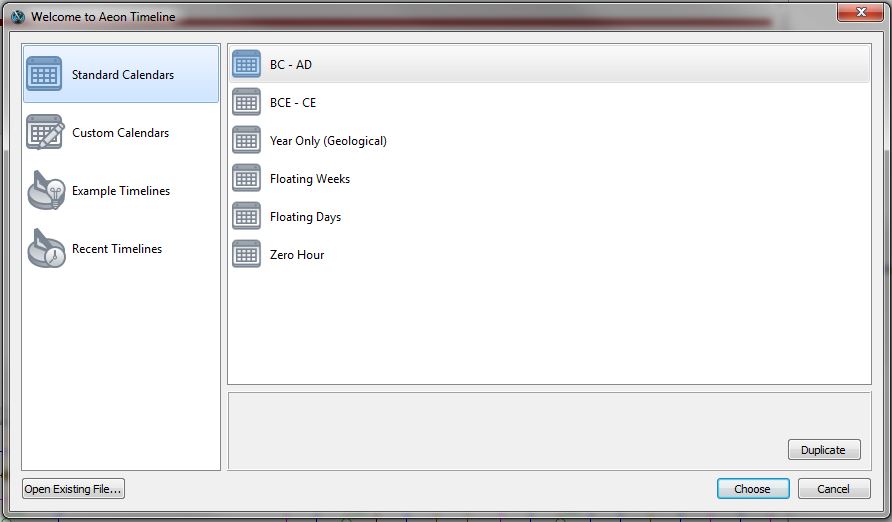
Timeline creation options
Options for creating a timeline include floating timeline, zero hour and geological. This should cover any project you could possibly conceive of!
I’ve been using Aeon Timeline for a while now, and find it very straightforward and useful. When they produce a Windows version that will sync with Scrivener, there’ll be no stopping me, but in the meantime the two programs even run separately provide me with every assistance I can think of.
Aeon Timeline is available as a free trial. It is, of course, useful for more than just fiction writing, and videos, forums and support are all available from the website. There are other features available, such as import/export and printing, but I feel I have covered the main features that, to me, make this an essential part of my writing toolkit.