Category Archives: Layout issues

Tips on how to lay out your book.

Book formatting for print

One task I’m often asked to do is to produce a version of a book for print. So what does this involve?

Preformatting

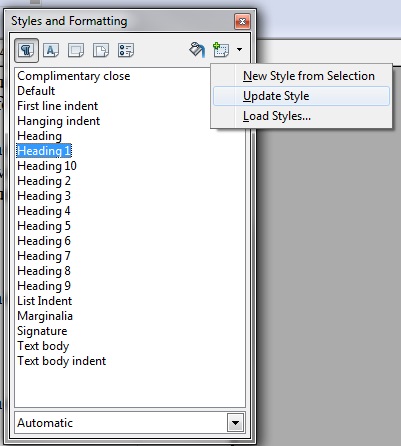
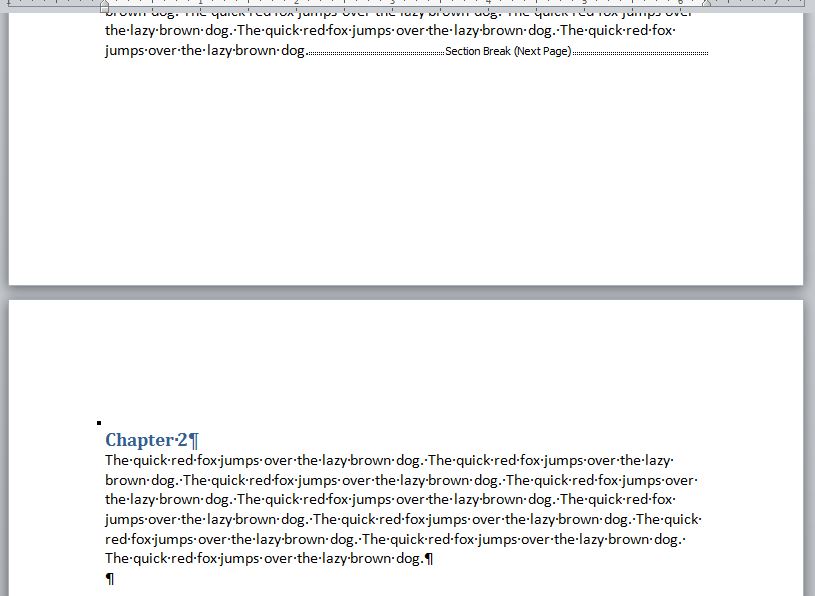
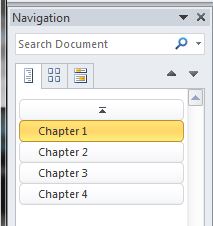
Firstly, I have to scan through the document to see if there are any tricky bits – sometimes a book will include sections such as letters, or newspaper articles, or something else that needs to be treated differently from the main text. There might also be areas where italics are used, for example. I apply styles to these, and to the chapter headings, and to anything else that is in other than the normal body font.


Some books bring real challenges, and it’s important to have an ongoing dialogue with the author over how he/she wants the issue handled.

Typesetting

The next step is to create the document to the right size in InDesign and import the Word file. I then check through the import, making sure that all the styles have made it across safely and all chapters start on a new page.


Next there’s a tweak of settings like hyphenation, and orphans and widows (usually issues with paragraphs split across a page break unevenly), and a check that we don’t have issues like blank pages or just one or two lines on the last page of a chapter. With InDesign, I have much more flexibility than in Word to squeeze an extra word on a line or spread the paragraph out a fraction so that more is carried over to the next line.


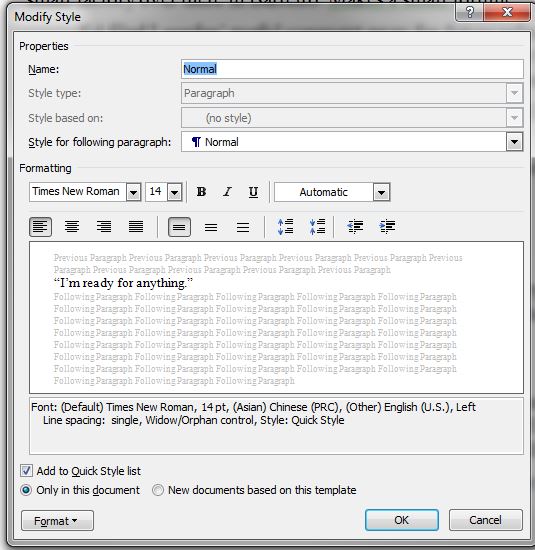
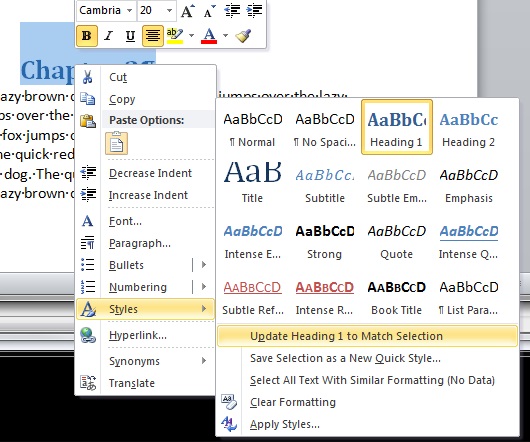
The beauty of using styles for the document is that it becomes very easy to change whole chunks at a time – if the author decides to go up or down a font size, for example, it can usually be changed in a single place. A change of fonts for the chapter headings is also achieved in one step, or adjusting how any special issues are addressed.


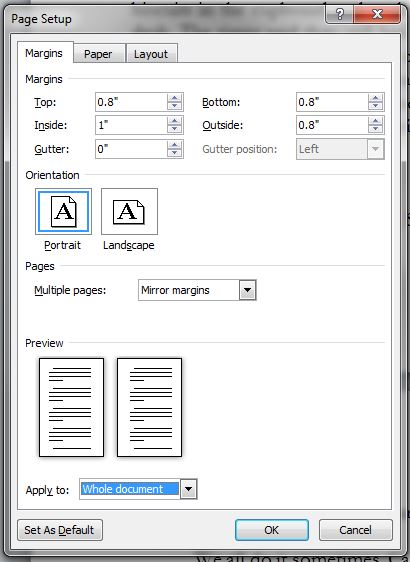
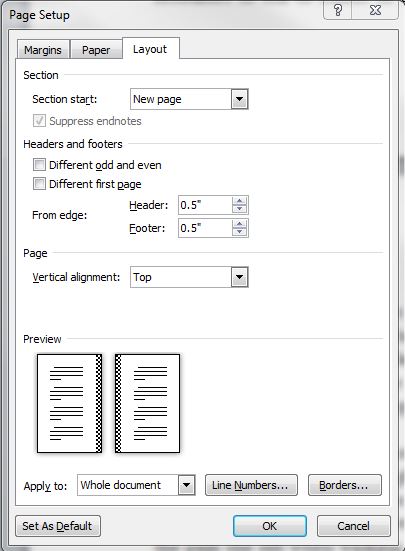
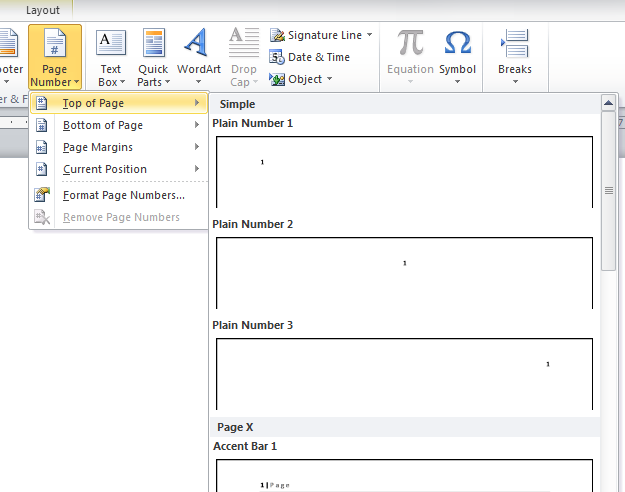
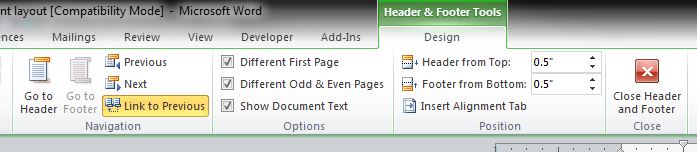
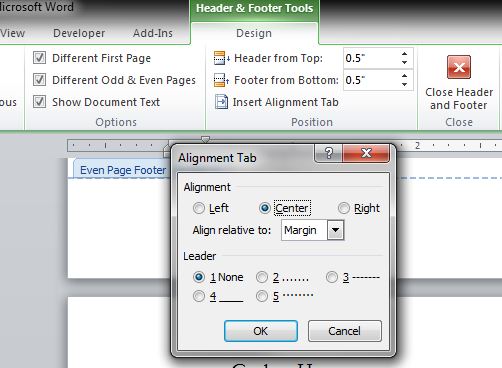
When I’m happy with the main body of the book, I can sort out the half-title, title page and imprint page, and anything else that’s needed for the front matter and end matter. There’s also the headers, footers (if needed) and page numbers to sort out, and checking that these only appear on the pages they’re needed.

Export and check

I export to PDF and scan through the file to make sure that all is as it should be, and then send off the PDF to the author for them to check. With InDesign, fonts are embedded in the file, meaning that the viewer will see the document as created, which isn’t always the case with files produced from Word. Ideally, a proofread would be carried out at this stage, to check for formatting issues as well as text issues. Sometimes I’m asked to do this, while at other times it remains something for the author to deal with.


Any issues can be dealt with fairly quickly, as the bulk of the work is done, and then I can create a final PDF if needed. By this point, it’s clear how many pages the book will have, which is vital information for creating the spine of the cover design. Again, I have some flexibility in page count as I can adjust settings easily to add pages (removing is trickier to do without affecting the overall look of the text).

How can an author help?

These days, authors often create the document with formatting as they imagine it should be. While traditional publishers might frown on this, I find it a help to see what the author has in mind, as long as it’s not too fancy.


It always helps if I’m prewarned about any issues that might arise, as I can be on special lookout.


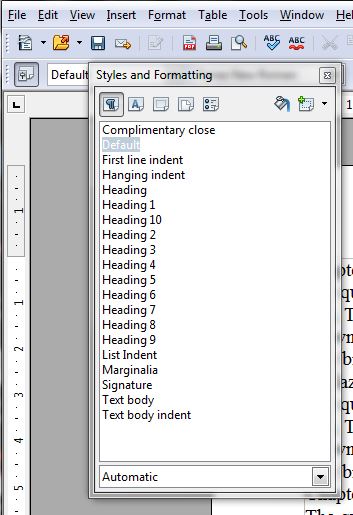
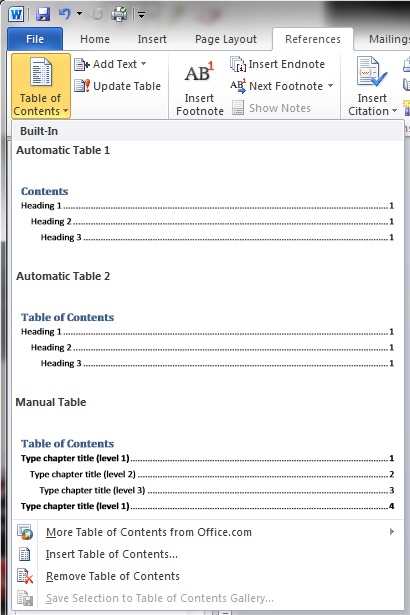
If you know how to use styles, then applying them in Word rather than using ad-hoc formatting is useful.


Above all, it helps if the author is prompt with checking through proofs or letting me know if there’s a delay. As in  many things, communication is the key to success!


Preparing your manuscript for print – headers

Assuming that you’ve followed instructions for setting up your manuscript, including using styles and including section breaks before each chapter heading, preparing for a print version is reasonably straightforward.


First of all, you must use Page Set Up to set up your page size and margins appropriately, including instructing the file to Mirror Margins on Multiple pages. This enables you to either set up a wider inside margin or a gutter space (which has the same effect as a wider inside margin). This allows for the inside edge of the pages to be bound together. Use your printer’s guidelines in creating your margins, and don’t fall into the trap of trying to cram as much onto each page as possible.

margins

Under the Layout tab, tick the Different odd and even and Different first page options under Headers and footers.

header footer setup


In many books, the header or footer simply contains a page number, and these can be added easily in Word by choosing Insert/Page Number/Top of Page or Bottom of Page, then selecting which position and option you require.

insert page numbers

You may wish to have more information in your header, however. For example, many non-fiction books will have the book title on one side of the page and the author name on the other, so while the left and right pages are consistent throughout they do not match each other. Some may even have the book title on one side and the chapter title on the other, so while the book title side remains consistent throughout, the chapter title side changes for each chapter. At the very least, unless you have the page number bottom centre, it should appear on the outside of each page, so swapping from the left to the right. The first page of each chapter will normally have no header at all.


You can access the Headers and footers options by double clicking in the header or footer area of any page, or by clicking on Insert/Header and choosing the Edit header option, and similarly for the footer area.

header footer toolbar

Here, again, make sure that Different First Page and Different Odd & Even Pages are ticked. Different First Page enables you to leave the first page of each section (each new chapter) without a header.


A very important button on this toolbar is the Link to Previous. While this is turned on, the header in the current section (either odd or even) will be the same as the corresponding header in the previous section, so any change you make to this one will affect that as well. If they are all linked, then changing one will change all. This is the setting we want for the header that’s to be the same throughout – for example having the book title on the left hand (even) page.


Unlinking the headers, by turning off that Link to Previous button, means that you can set each header for that side manually. Use the Previous and Next buttons to skip through the sections. This means that you can set up the chapter title to appear on every right hand (odd) page.

alignment tabs

Use alignment tabs to centre the header – on the Header and Footer Tools, select Insert Alignment Tab and choose Center. You will need to add a right alignment tab for the page number when you want it on the right. When putting the number on the left, be careful if your Normal style includes a first line indent – you will need to turn this off for the number or it will appear in the indented position, or apply the non-indented version of Normal.


Page numbers should follow on automatically between sections. You can format their appearance by choosing Header and Footer Tools/Page Number/Format Page Number, should you require a section to be numbered differently, or in a different style. For example, a lengthy preface might be numbered with small Roman numerals, with the actual numbering starting with the text itself.


Check all your headers and footers very carefully (or your proofreader will check them for you) to ensure they are all correct.


Using paragraph formatting in MS Word 2010

So you’ve applied your styles, using Heading 1 for your chapter headings and Normal for the main text. You can format the headings easily and then update the style to make the same change throughout the document. The last thing to do is to format your body text appropriately.


Standard layout for an ebook or printed book is to indicate new paragraphs by indenting the first line. You should also avoid adding extra blank lines anywhere by using the return key. For both of these you need to access paragraph formatting.


Paragraph formatting dialog box


paragraph formattingWithin the paragraph formatting dialog box there are several areas of interest. You can format the alignment here – left, right, centered or justified.


You can add indents to left or right – if you want to set in a paragraph from the margins – or set a special first line indent.


You can also add space before or after the paragraph. This is the best feature to use if you want your headings to appear lower down the page, or have a gap between the heading and the text.


You can set your linespacing at various depths, including single and fixed spacing.


line and page breaksOn the other tab for the paragraph dialog box is Line and Page breaks.


The most interesting of these is Widow/Orphan control – when ticked, this will stop the first line or last line of the paragraph appearing on a different page from the rest. You might decide you prefer this option turned on, or you might turn it off if you want exactly the same number of lines of text on each page. If you do turn it off, I suggest you look at the layout of your print design carefully to check for widows and orphans, as it’s possible the automatic system could give you a single word on its own at the end of a chapter.


Keep with next will ensure there is no page break between a paragraph of this style and the next paragraph – useful for ensuring headings don’t appear on their own at the bottom of the page.


Keep lines together will ensure the paragraph is not split between pages.


Page break before will automatically start a new page with this paragraph – again, useful for headings.


Accessing the Paragraph format box


paragraph section of home ribbon

  • Click on the right-hand bottom corner of the paragraph section of the Home ribbon.


  • Right-click the text and select Paragraph…


If you access it either of these two ways, once you have the paragraph the way you want it to look don’t forget to right-click the paragraph and select Styles/Modify Normal to match selection.


modify styleAlternatively, you can right-click on the style in the style panel, choose Modify… and click on the Format button in the bottom left-hand corner. Choose Paragraph from the list of options. This method modifies the style directly, so you should see the change applied throughout when you press OK.


The first paragraph in the chapter or underneath a divider should not be indented, so it’s best to set up another style to cover this. Add in a centered style for your dividers (and maybe any images you wish to include) and you’re ready to go!


Using Styles in Open Office Writer

Advantages of styles

Using styles is a handy way to help you ensure your formatting is consistent throughout your document. Styles can also help you to navigate through your file and see the structure easily, and if you intend to convert your Word file to ebook format, styles will enable you to generate an automatic table of contents.


I have covered styles in more detail in the Word version of this article, so here I will only give you where to find the various features in Open Office Writer:

Applying styles

formatting toolbarYou will access the styles option in Open Office Writer by selecting Format/Styles and Formatting, or by clicking the Styles and Formatting button on the toolbar (on the left). Apply the style by highlighting text in your document and double-clicking the style you want.


Use a page break to force a new chapter onto a new page – under Insert/Manual break… page break, or by typing CTRL+Enter.


Modifying styles

update styleTo modify a style, change one of the sections of text that uses it. Then, with that section highlighted, on the formatting window use the dropdown button to choose Update Style.

Using styles to navigate

navigatorUse the Navigator pane, under View/Navigator, to move around the document and see the structure. Expand the heading section if necessary by clicking on the plus sign to its left.

Table of contents

table of contentsUse Insert/Indexes and Tables/Indexes and Tables to insert a table of contents.


Using Styles in MS Word 2010

Advantages of styles

Using styles is a handy way to help you ensure your formatting is consistent throughout your document. Styles can also help you to navigate through your file and see the structure easily, and if you intend to convert your Word file to ebook format, styles will enable you to generate an automatic table of contents.


Applying styles

The styles options appear on the Home ribbon. You will see several different styles listed, including Normal, Heading 1 and Heading 2. You may also have a Title style.


style bar

Each of these styles may be applied to your document by highlighting the text and then choosing the style you want.


It is important that you use the right style for the right section; it is less important what the style currently looks like, as it is easily modified.


Most of your document will be created in the Normal style, and you should use Heading 1 for chapter headings. Highlight the chapter name and then click on the style named Heading 1. If you have subheadings, you can use Heading 2, etc.


section breakAt the end of the chapter, in order to make the next chapter start on a new page, use a Section Break (Next Page) or Section Break (Odd Page). Both are found on the Page Layout ribbon, under Breaks. Using Odd Page will ensure that the next section starts on the right-hand page of your book. All odd pages should be on the right-hand page – please note that the Word two-page preview does not always display this properly.


pilcrowUsing the Show/Hide button (on the Home ribbon) to see the invisible characters will help you with your formatting. This button lets you see the characters that are normally invisible, but that control the layout of your document.

formatting example

Here you can see:

  • the section break used rather than leaving blank lines manually
  • the chapter heading formatted using Heading 1
  • the pilcrow mark used to show paragraph marks
  • dots instead of spaces.

Modifying styles

modify style

If you want to change the appearance of either of the styles used, choose one heading or one paragraph to change. When you have that one exactly as you want it, then highlight it, right-click and choose Styles/Update Heading 1 to Match Selection or Styles/Update Normal to Match Selection. This will automatically make your changes to every section of text where that style is applied.


More about modifying styles in my next post, on using paragraph formatting.

Using styles to navigate

navigation pane

If you turn on the Navigation Pane (found under the View ribbon) you will see a list of the headings you have used. Clicking on these is a quick way to jump around your document, and if you have subheadings, for example in a non-fiction book, you can see the structure very clearly.


table of contentsMoving to the top of your document and choosing Table of Contents on the Reference ribbon will give options for an automatic table of contents, with or without page numbers. These will be hyperlinked to each heading, so that Ctrl+clicking on a heading will take you to that point in the document, and this will translate to the ebook file as well. If you generate the Table of Contents before your text is finished, then you can right-click the generated table later and choose Update Field, choosing the option Update entire table, to ensure that the table is up to date. Alternatively, make the Table of Contents the last job you do when finished.


Typing your manuscript

Here are a few tips to remember when typing up your manuscript:


  1. Use single spaces only, even at the end of a sentence. If you are an old-school typist, as I am, you were probably taught to use two spaces after a full-stop, but this is inadvisable on a computer. Some eBook converters will complain if they find two spaces together, and there is always the risk that one space will be put on the next line, forcing that line out of alignment with the rest.
  2. Avoid using blank lines in your document. It is best to put a visual marker instead. If you really want blank lines in a finished printed manuscript, you can adjust them once the page sizes are known, but in eBooks you can never guarantee where the page breaks will fall, and it is very easy to miss a blank line at the top or bottom of a page. For this reason, ebook converters will complain if you upload a document with blank lines.
  3. Indent the first line of each paragraph using the automatic settings in your word processing software. The usual style these days is to have no blank lines between paragraphs in fiction, and so the way to signal a new paragraph visually is to indent the first line a little. However, using the tab key or space bar to do this is a bad idea, as it makes it fiddly to adjust at a later date.
  4. Use section breaks or page breaks at the end of the chapter, to push the next chapter to the top of a new page. Section breaks also give you the option to choose whether you want next page or odd page starts, and allow you to change the header and footer between sections.
  5. Make use of the style system. Marking your headings using styles is not only a handy short-cut to keeping your formatting consistent, but it is the key to generating a Table of Contents for the front of the book, and if your book is non-fiction, then the navigation pane will help you check that your content is organised appropriately. 
  6. Avoid using the space bar to align content on the page. Instead, use the left-align, right-align and centre buttons. For anything more complicated, you can always set and use the tabs, or use a table and hide the borders.

If you follow these simple rules when typing up your manuscript, the final formatting should be smooth and easy.

More information on using the style system and section breaks.